After something like six long years, I’ve finally completed the restoration of Ace on April 24th, 2013. It was definitely not a piece of cake! Initially, I said it probably took about 60 or so hours for this entire project, but that was an underestimate. Now that I think about it, I probably spent over 100 hours.  With that amount of time comes many things learned from this project – both things I would and wouldn’t do again. In the first part of this blog, I’ll give an overview of the project. In the second part, I’ll give some final comments about the restoration, including the things that I wouldn’t do again for my future projects. The third part will be about some fun events with Ace. Let’s get started!
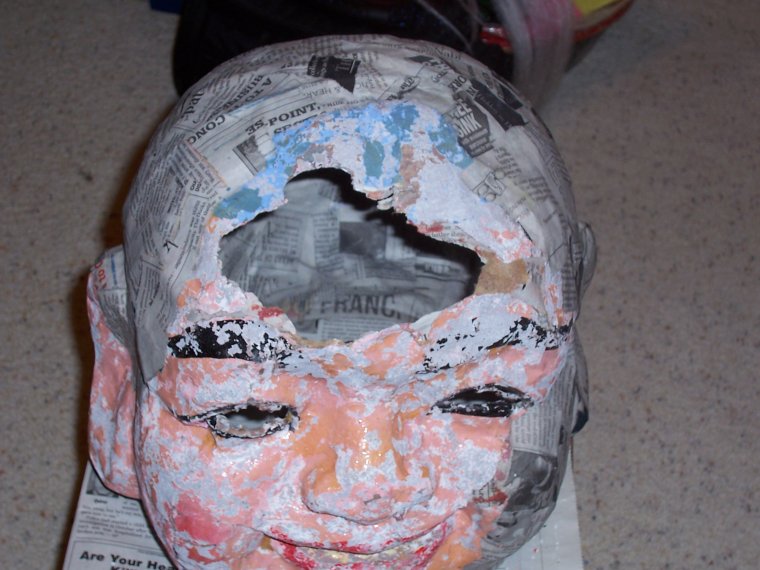
When Ace was first handed to me, the right side of the frame was completely off the base and the damage extended upward toward the cheeks and to the back near the gills.

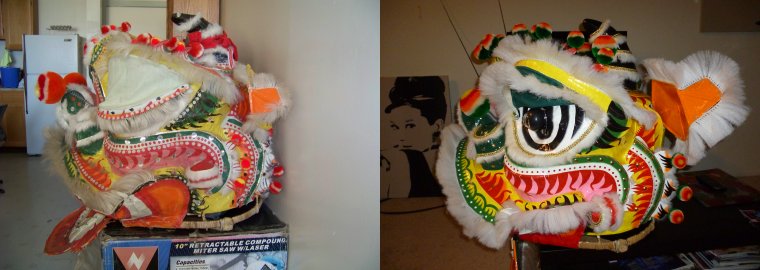
Ace when I first got him. Notice how the mouth area is sinking toward the bottom due to the broken frame.
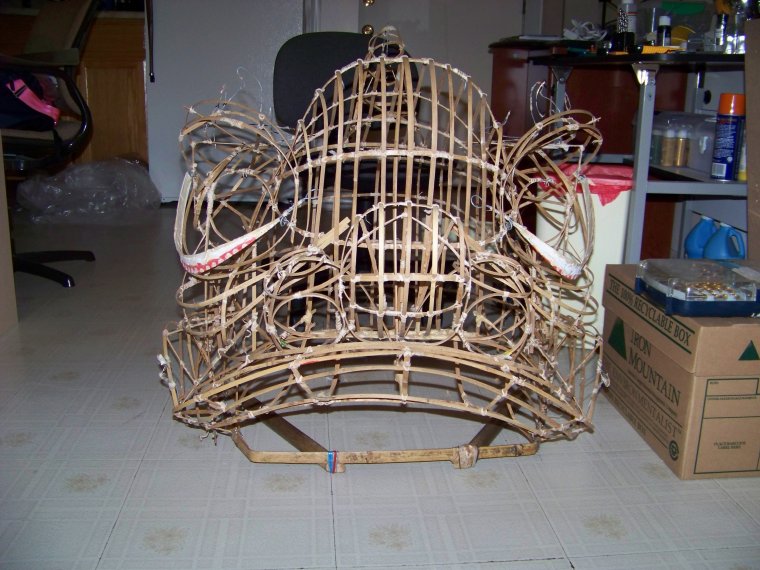
In the process of repairing Ace’s frame.

Notice the detachment even though I already started repairs.
This was one of the most troublesome parts of the project for me, since I didn’t have much experience fixing framework at the time. It took me quite a long time to figure out how everything was supposed to go back together, much like a puzzle.
After fixing the frame came the longest and most tedious part of any lion building/restorations – paper mache. Like Chris Low once said, “lather, rinse, and repeat†pretty much describes this step.
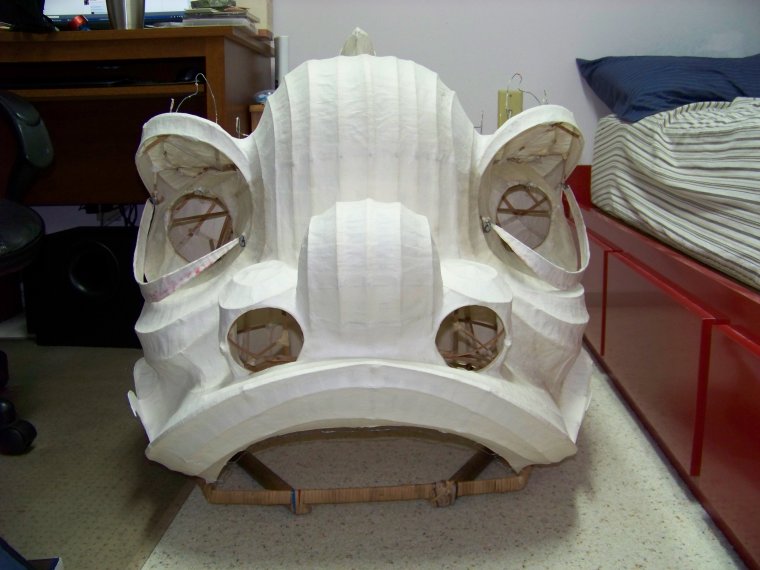
Front view of Ace papered, excluding the top fins.
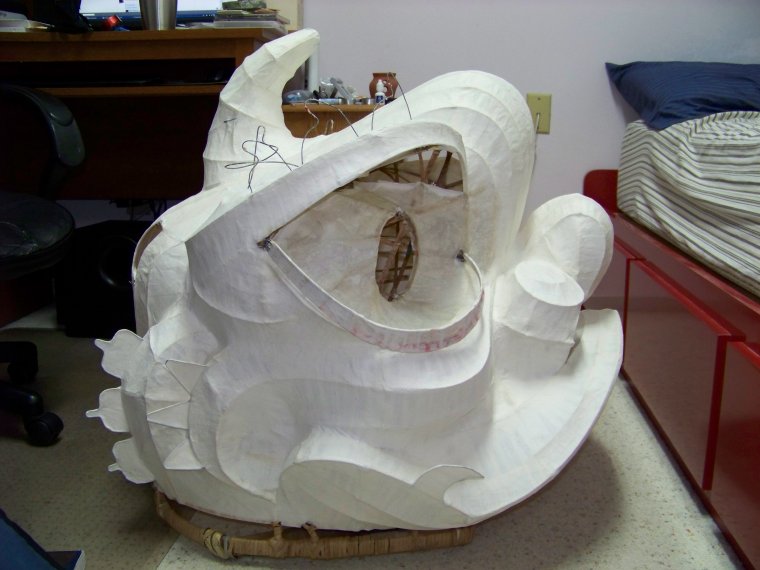
Side view of Ace papered, excluding the top fins.
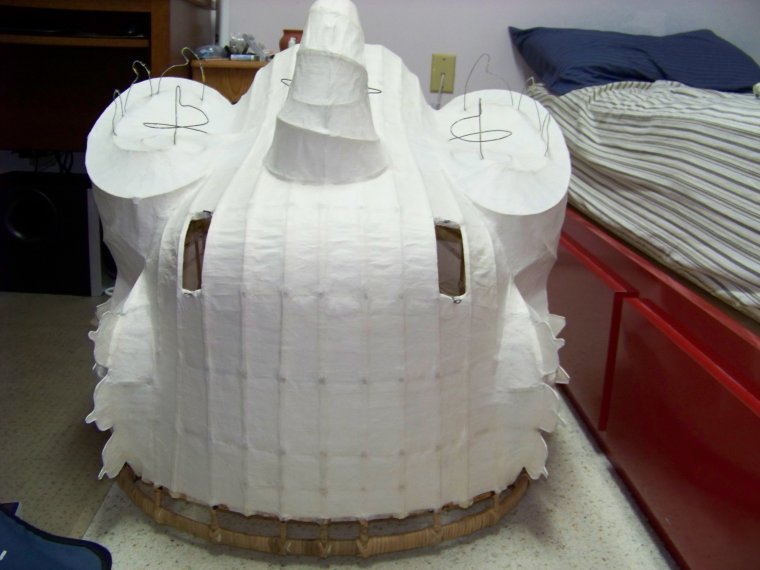
Back view of Ace papered, excluding the top fins.

Top fins papered.
What I did next is something that I didn’t tell many people until recently – automotive body filler. This step was probably even more tedious than the paper mache. One of my mentors told me that some traditional craftsmen back in the day put a really thin layer of plaster over the paper to make the surface smooth. I was taking auto-body repair classes at the time and got the idea of using a thin layer of automotive body filler instead. Boy, was that a bad idea! More on that later. After the body filler step, I glued the relief patterns with rope and pasted grass paper over everything. I then sealed the inside and outside of the lion with sealer-primer and painted a base coat of white. The lion was now ready for the colors and designs!
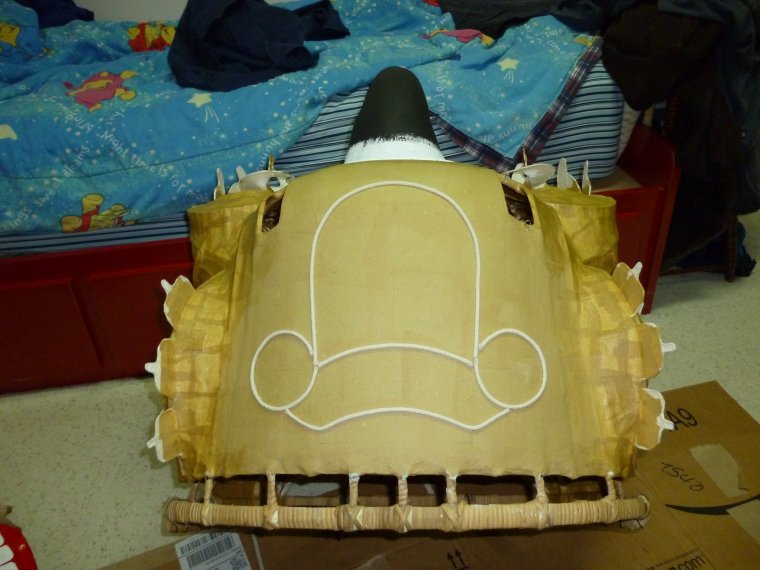
Grass paper over body filler with relief patterns made from rope.
For some reason, my favorite part to paint is the horn area, so I always do that first.

Painting around the horn. Note how the body filler makes a smooth surface.
Skip to several years later, I finally finished painting Ace. A gloss coat was put over the entire head to seal the paint, then embellishment began! A white rabbit fur pelt was cut into quarter-inch strips for various decorations around the head. Half-inch wide metallic gold gimp trim was used to cover the rabbit fur edges. I cut off the sharp part of brass thumbtacks to use the head as metal disks, which were glued around various locations on the lion. White bristle hair was attached by my friend, Andy Ta, since my fingers were cracked and bleeding from all the previous work. Silk balls were attached on their corresponding fins. Unfortunately, I got the silks balls secondhand and there weren’t enough for every single fin. Instead, I glued a metal disk on the inner gill fin tips.
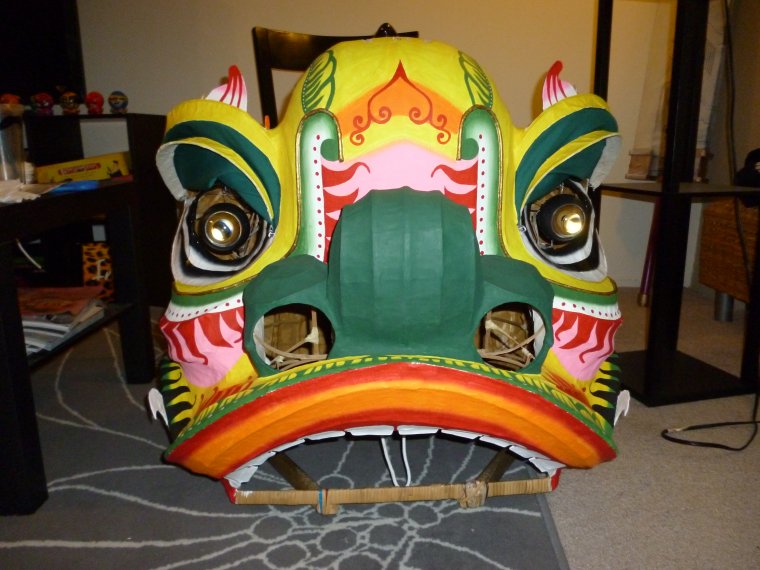
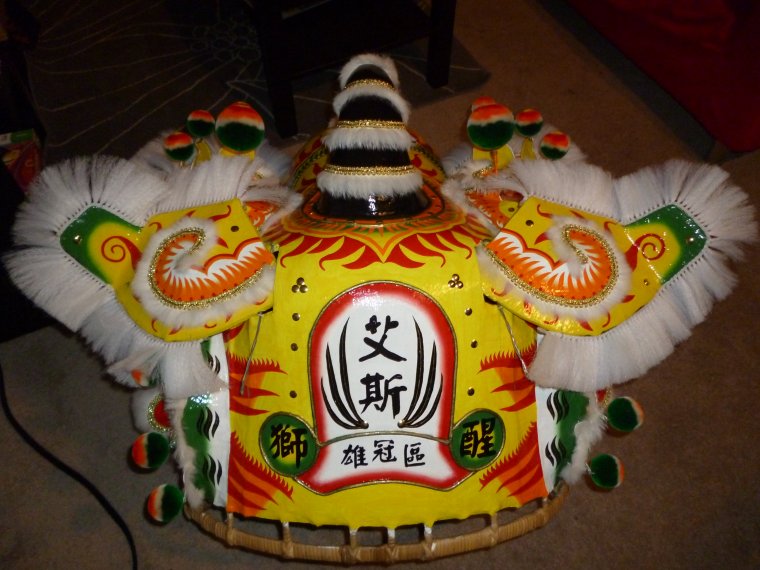
Finished painting Ace!

Rabbit fur and metal disks glued on, bristle hair attached.
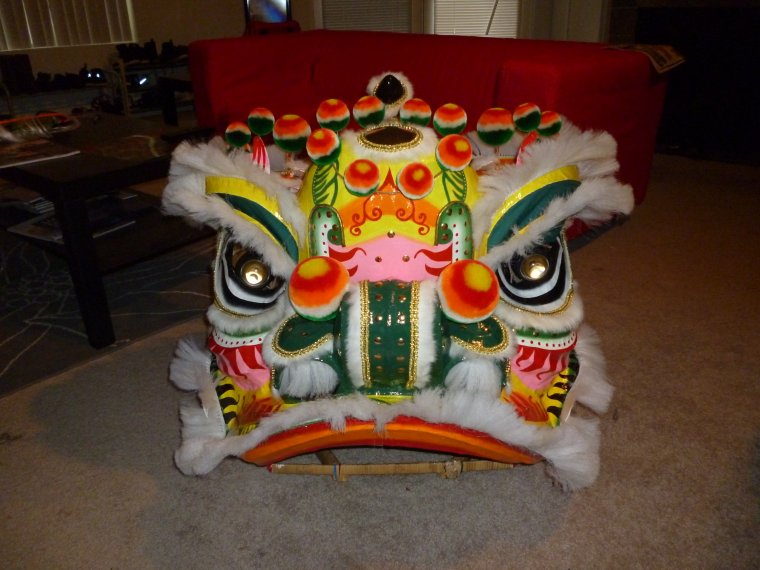
Silk balls attached!

Silk balls attached on the three hind fins. Metal disks in place of silk balls for the triangular fins.
Next, I mounted the mouth and the ears. I worked on these two parts separately as a break from the main lion frame. For the beard, I bought ten 1-inch wide hair extension clip-ons and cut off the clip. I glued each strip side by side on the lip and glued trim over the glued edges. This is another step that I would modify for my next projects.
Ears mounted.

Completed mouth.

Ace’s beard. Notice how thin it is compared to other beards. Taking that into consideration for future projects.

Ace COMPLETE! Image taken by Chris Low.
Here are some shots from various angles.

Ace from a front-side angle.
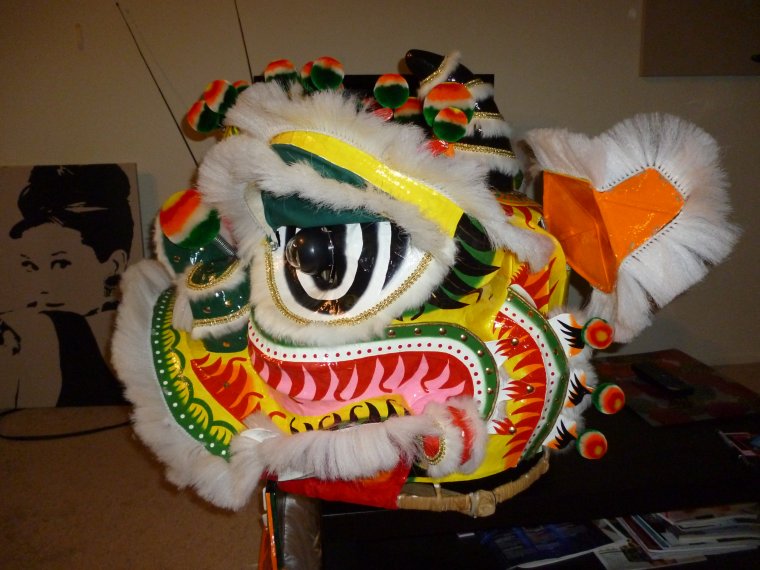
Side view of Ace.

Back view of Ace.
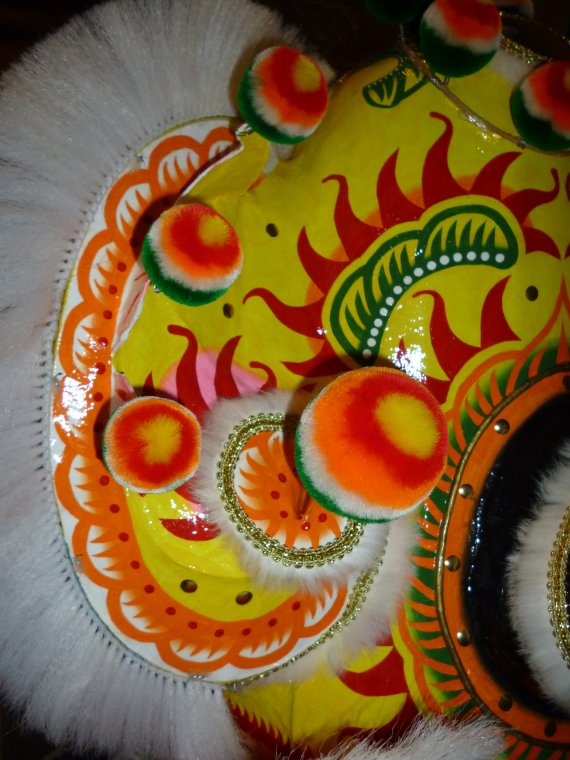
Pattern above the eye.

Completed horn area.
Here are some before and after pictures!

Before and after, front view.
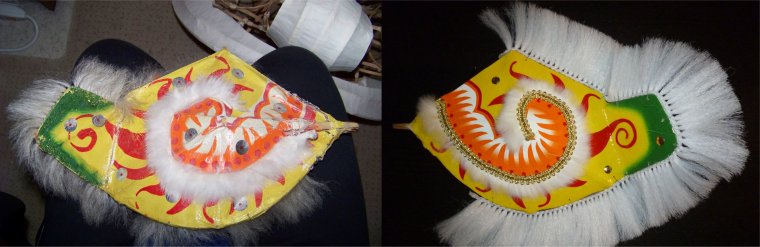
Ear, before and after.
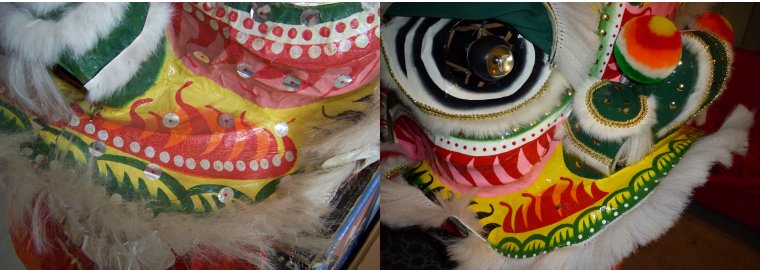
Above the mouth, before and after.
Side view, before and after.
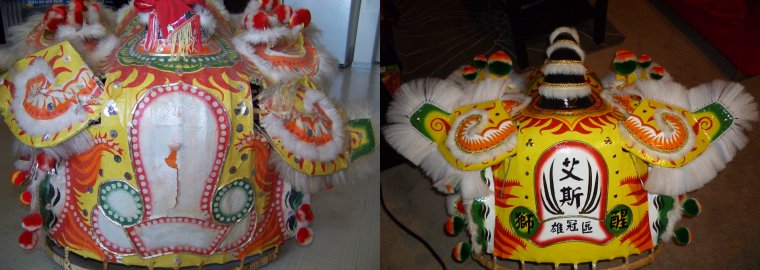
Back view, before and after.
Overall, this was a really nice project for me. It was the first full restoration of an adult-sized lion that I’ve ever done. Previous projects were either full restorations of baby lions or steps of a larger restoration. I definitely learned a lot of things! Here’s a compilation of all the things I wouldn’t do again (in case anyone want to avoid it too).
- No more masking tape for binding. That stuff loses its adhesive properties over time and becomes crusty. I really like Thomas’ idea of using first aid/sports tape as a binding medium, so I’ll be using that from now on.
- No more body filler, EVER! That was probably my biggest regret of the entire project. Yes, it is tough stuff, but when it goes on too thick, it cracks very easily. It was very hard for me to spread a thin and even layer of body filler, since the stuff is like watery clay. Not only that, sanding it was a pain in the butt! I spent MANY hours sanding that stuff. The sanding dust is toxic, so I had to wear a respirator when work with it. After sanding, more body filler was spread on to fill in the small dips and holes. And then more sanding…repeat… Oh yea, I had to use a rotary tool to cut holes for mounting the mirror and some of the bristle hair. Because of the body filler, it took me an unnecessary four hours to mount the mirror.
- No more cheap paints. I was forced to use it because of the allowed budget, but never again for my personal projects. Most colors took at least 2 coats for full coverage, which was a complete waste of time on my part.
- No more Americana triple thick gloss glaze for the final gloss coat. Yes, it gives a super shiny glossy look, but applying it took way more time than necessary. It’s so thick that brushing it on was kind of like brushing honey onto a lion head. Imagine that…
- This is minor, but if I could, I would use 3/8th inch gimp trim next time. I bought a roll of gold gimp trim on eBay that was listed as 3/8th inch, but when it came, it was half an inch! I still used it anyway, and the overall effect wasn’t too bad.
- For the beard, I really liked the feel of the artificial human hair. Next time, I will try to get that material in bulk and maybe tie my own beard. The gluing method may not be as strong as the traditional method of attaching the beard using wire.
- The pillow’s size was a huge mistake. I made it a bit too tall, which got in the way of the ears hoops that connect to the rope and elastic. This made the ears point outwards all the time.
- The LED’s in the lighted eyes weren’t aligned. One was pointing downward more than the other, resulting in an uneven look. Next time, I will try using Chris Low’s method or devise my own.
On April 25th, Andy and I went to Chris Low’s house with Ace to have a little photo session with his lions! Soon after, his kids also jumped in.

Chris Low’s Lo An Kee restoration and Ace. Image taken by Chris Low.

Chris Low, a hobo (just kidding, it’s me), and Andy. Image courtesy of Chris Low.

Horse stance! Image courtesy of Chris Low.

Three generations of lion dancers. Image courtesy of Chris Low.
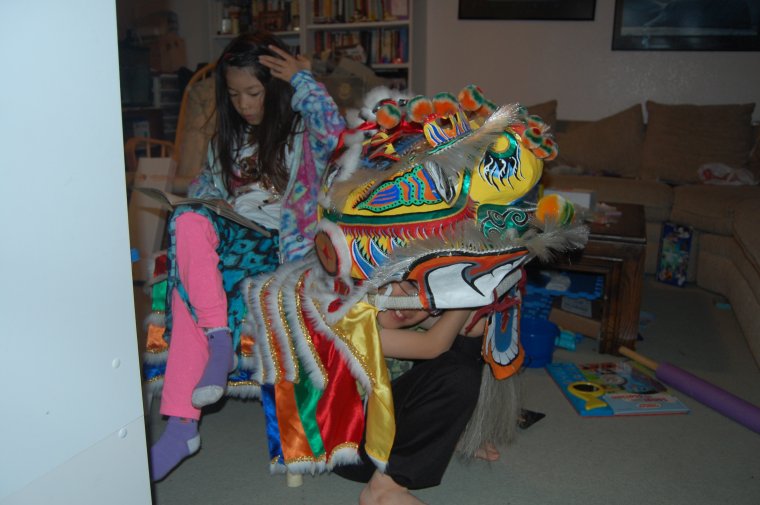
How comfortable! Image courtesy of Chris Low.

Posing with Ace. Image taken by Chris Low.
On April 26th, I brought Ace back to UC Irvine’s Southern Young Tigers during one of their practices. A Hoi Gwong ceremony was planned for that day, which featured Ace and another one of their new modern Fut San lions.
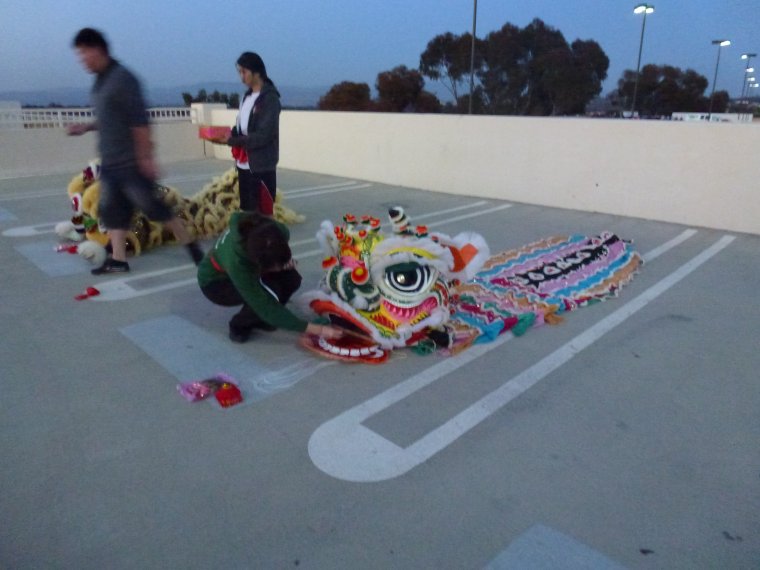
Eye-dotting the lions.
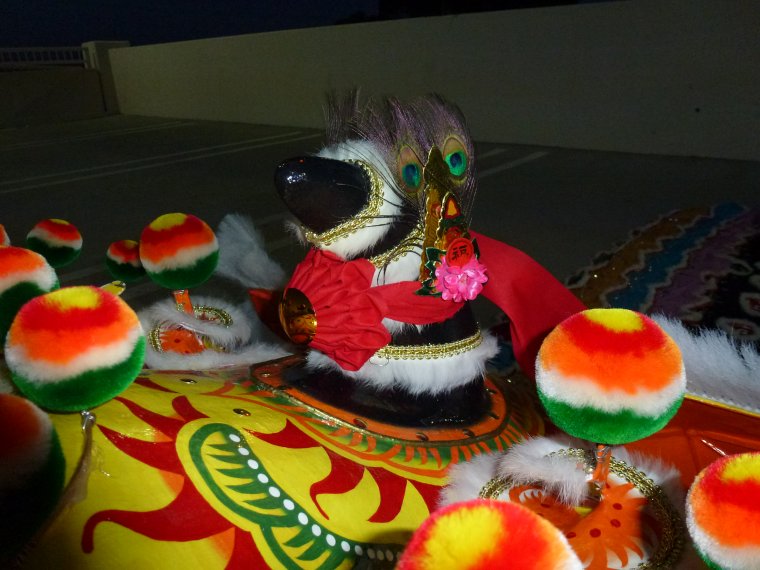
Ace adorned with golden flowers and red ribbon.
The saddest part of the night was when I realized that I spent 6+ years working on Ace, but I had to give it back not even a week after I finished him. There are a lot of memories attached to Ace that I will never forget.

Good bye, Ace.

Special thanks to my girlfriend, Annie Ngai, for helping me paint some parts of the lion and my good friend, Andy Ta, for helping me with the ornamental balls and attaching the bristle hair.